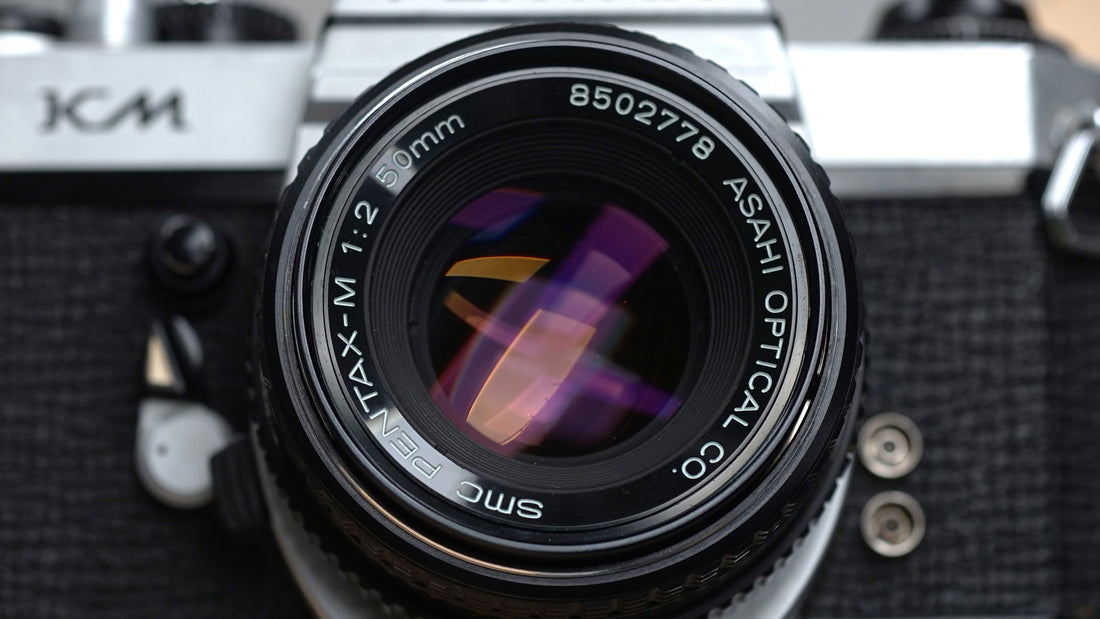
By Steve Boylin.
Picture the scene: you just found a bargain at a car boot sale or charity shop. A Pentax SLR with 50mm lens for less than the price of a bag of chips. You immediately buy it without hesitiation and are far too excited to check it properly. Once you get home and take a really good look - disaster - you realise the lens is practically alive with a thick layer of fungus inside. You sit, defeated and contemplating if it’s worth repairing.
Don’t worry - we might be able to help. Take a look at this guide on how to strip down an SMC Pentax-M 50mm f/2. It might just save a lens, and your wallet from doom.
Lots of lenses are similar - so you may be able to use this guide and the techniques to repair other lenses. But remember - proceed with caution, and if at any point you think you might cause damage or are not confident in doing your own repairs - contact a professional. The same model of lens can look identical from the outside, but vary in construction. This is for educational purposes only and we take no responsibility for any damage occured by following this guide.
Stuff you'll need
Common tools needed to remove fungus from this lens:
- A clean, lint-free cloth.
- Lens cleaning solution or 99% IPA
- Spanner Wrench
- Rubber friction tools (Appropriately sized rubber walking stick ferrules, or round rubber furniture foot cups can also be used if you don’t have a proper set).
- Bright torch or light for inspection
- Phillips head screwdriver (I'm using a Werra PH00)
- Rocket blower or compressed air.

Locating the fungus
To begin, it’s a good idea to locate the fungus and figure out how much of the lens we’ll need to disassemble. Is it on every surface, or just a particular element? You can do this by shining a bright light source through the lens. Anything that resembles tendrils or cobwebs is likely to be fungus. On this example, fungus is present on the inside of the second rear element and there are some strands underneath the front element.

Removing the mount and rear group
We’ll go in through the rear for this lens. To remove the mount, undo the 5 screws as shown the picture below.

Once the screws are removed, gently pull up the mount and remove it, revealing the inside of the lens.

For this particular lens, the rear group is removed by unscrewing it anti-clockwise with a spanner wrench.

Once it’s out, we can give it a good clean. Use a rocket blower or compressed air first to remove any tiny debris that may be present. Grab a clean microfibre cloth along with a drop or two of cleaning solution, and clean the glass surface in a circular motion from the centre to the outside of the element. Here is a before and after cleaning


The IPA or lens cleaning solution will neutralise the fungus, and reduce the possibility of it returning over time.
After removing the fungus, use the rocket blower to clear any dust once again (dust is unavoidable, but try to minimise it). Once the surface of the glass is squeaky clean, screw the optical group back in and reassemble the rear of the lens.

Align the screw holes on the mount with the rear of the lens, pop the screws in and tighten it back up. Ensure the aperture lever is inserted through the slot on the mount and check that you can see the aperture opening and closing all the way, the lever moving freely and without resistance.
Removing the front element:


Use a rubber friction tool to unscrew and remove the name ring. Nothing particularly exciting is revealed, as you can see. If we wanted to disassemble the lens further, we’d need to unscrew the three screws and this would allow removal of the front group - but we’re just interested in removing the very front element of this particular lens - so we won’t need to.

Using the spanner wrench (ensuring that it is correctly spaced and lock screws tightened down) remove the inner retaining ring that holds the front element in place. It may require some force to do this - a correctly sized rubber friction tool may be an alternative if you’re worried about damaging anything. Once unscrewed, set to one side.

Remove the front element with a suction tool, or simply flip the whole lens upside down, and use a microfibre cloth to catch the lens.


